I Threw Up: The Invisible Art of Editing Photos
I probably should have marked this blog NSFW given how atrocious that before photo is. Sometimes we absolutely nail a shot and the edit is simple. Other times, you miss the exposure -3.5 stops from your target and hope to the Adobe gods that you’ll be able to recover the image through meticulous editing and self-loathing uttering under your breath. I’m sure my therapist would have something interesting to say about my usage of the word “your” here instead of “my.”
I recently flew to Nashville to celebrate my friend’s birthday and album release, which both took place on the same day. Their set began right as the sun started to set and I’ve always been in the habit of shooting in Manual Mode. I was using my Sony FE 24-70mm F2.8 GMII on my Sony A7 IV. That grants me a fast lens with a body that could hold its own when it comes to low light capabilities.
I usually build my exposure triangle by first determining the aperture I’d like. In this case (as with most of my concert gigs), I chose f/2.8. A nice, wide open aperture to let in as much light as possible while having a graceful enough depth of field to keep my subject in focus. DEAD FOCUS. Sorry.
Then I determine my minimum requirement for shutter speed. For live events like this, I don’t shoot below 1/200. The subjects move around way too much to go any lower. If the performers moved hella fast, I would have had to bump it up even more to accommodate.
Lastly, I determine my ISO. Given I was shooting during sunset, this was going to be my sliding scale most of the time. Also, for gigs, I’m a Spot Metering kinda guy. 10/10 would recommend. Concerts = constantly shifting lights that depend on a moving subject, fancy stage lights that swivel and change colors, etc. Spot metering grants me the ability to always see how I’m faring by looking at my Exposure Meter when I’m aiming down sights.
Why do I mention all of this? Context, dear Watson.
My settings were locked in and had just finished shooting one side of the stage where the light was beaming directly on the performer. I made my way to the opposite side of the stage to capture some alternate angles and those hanging out stage right.
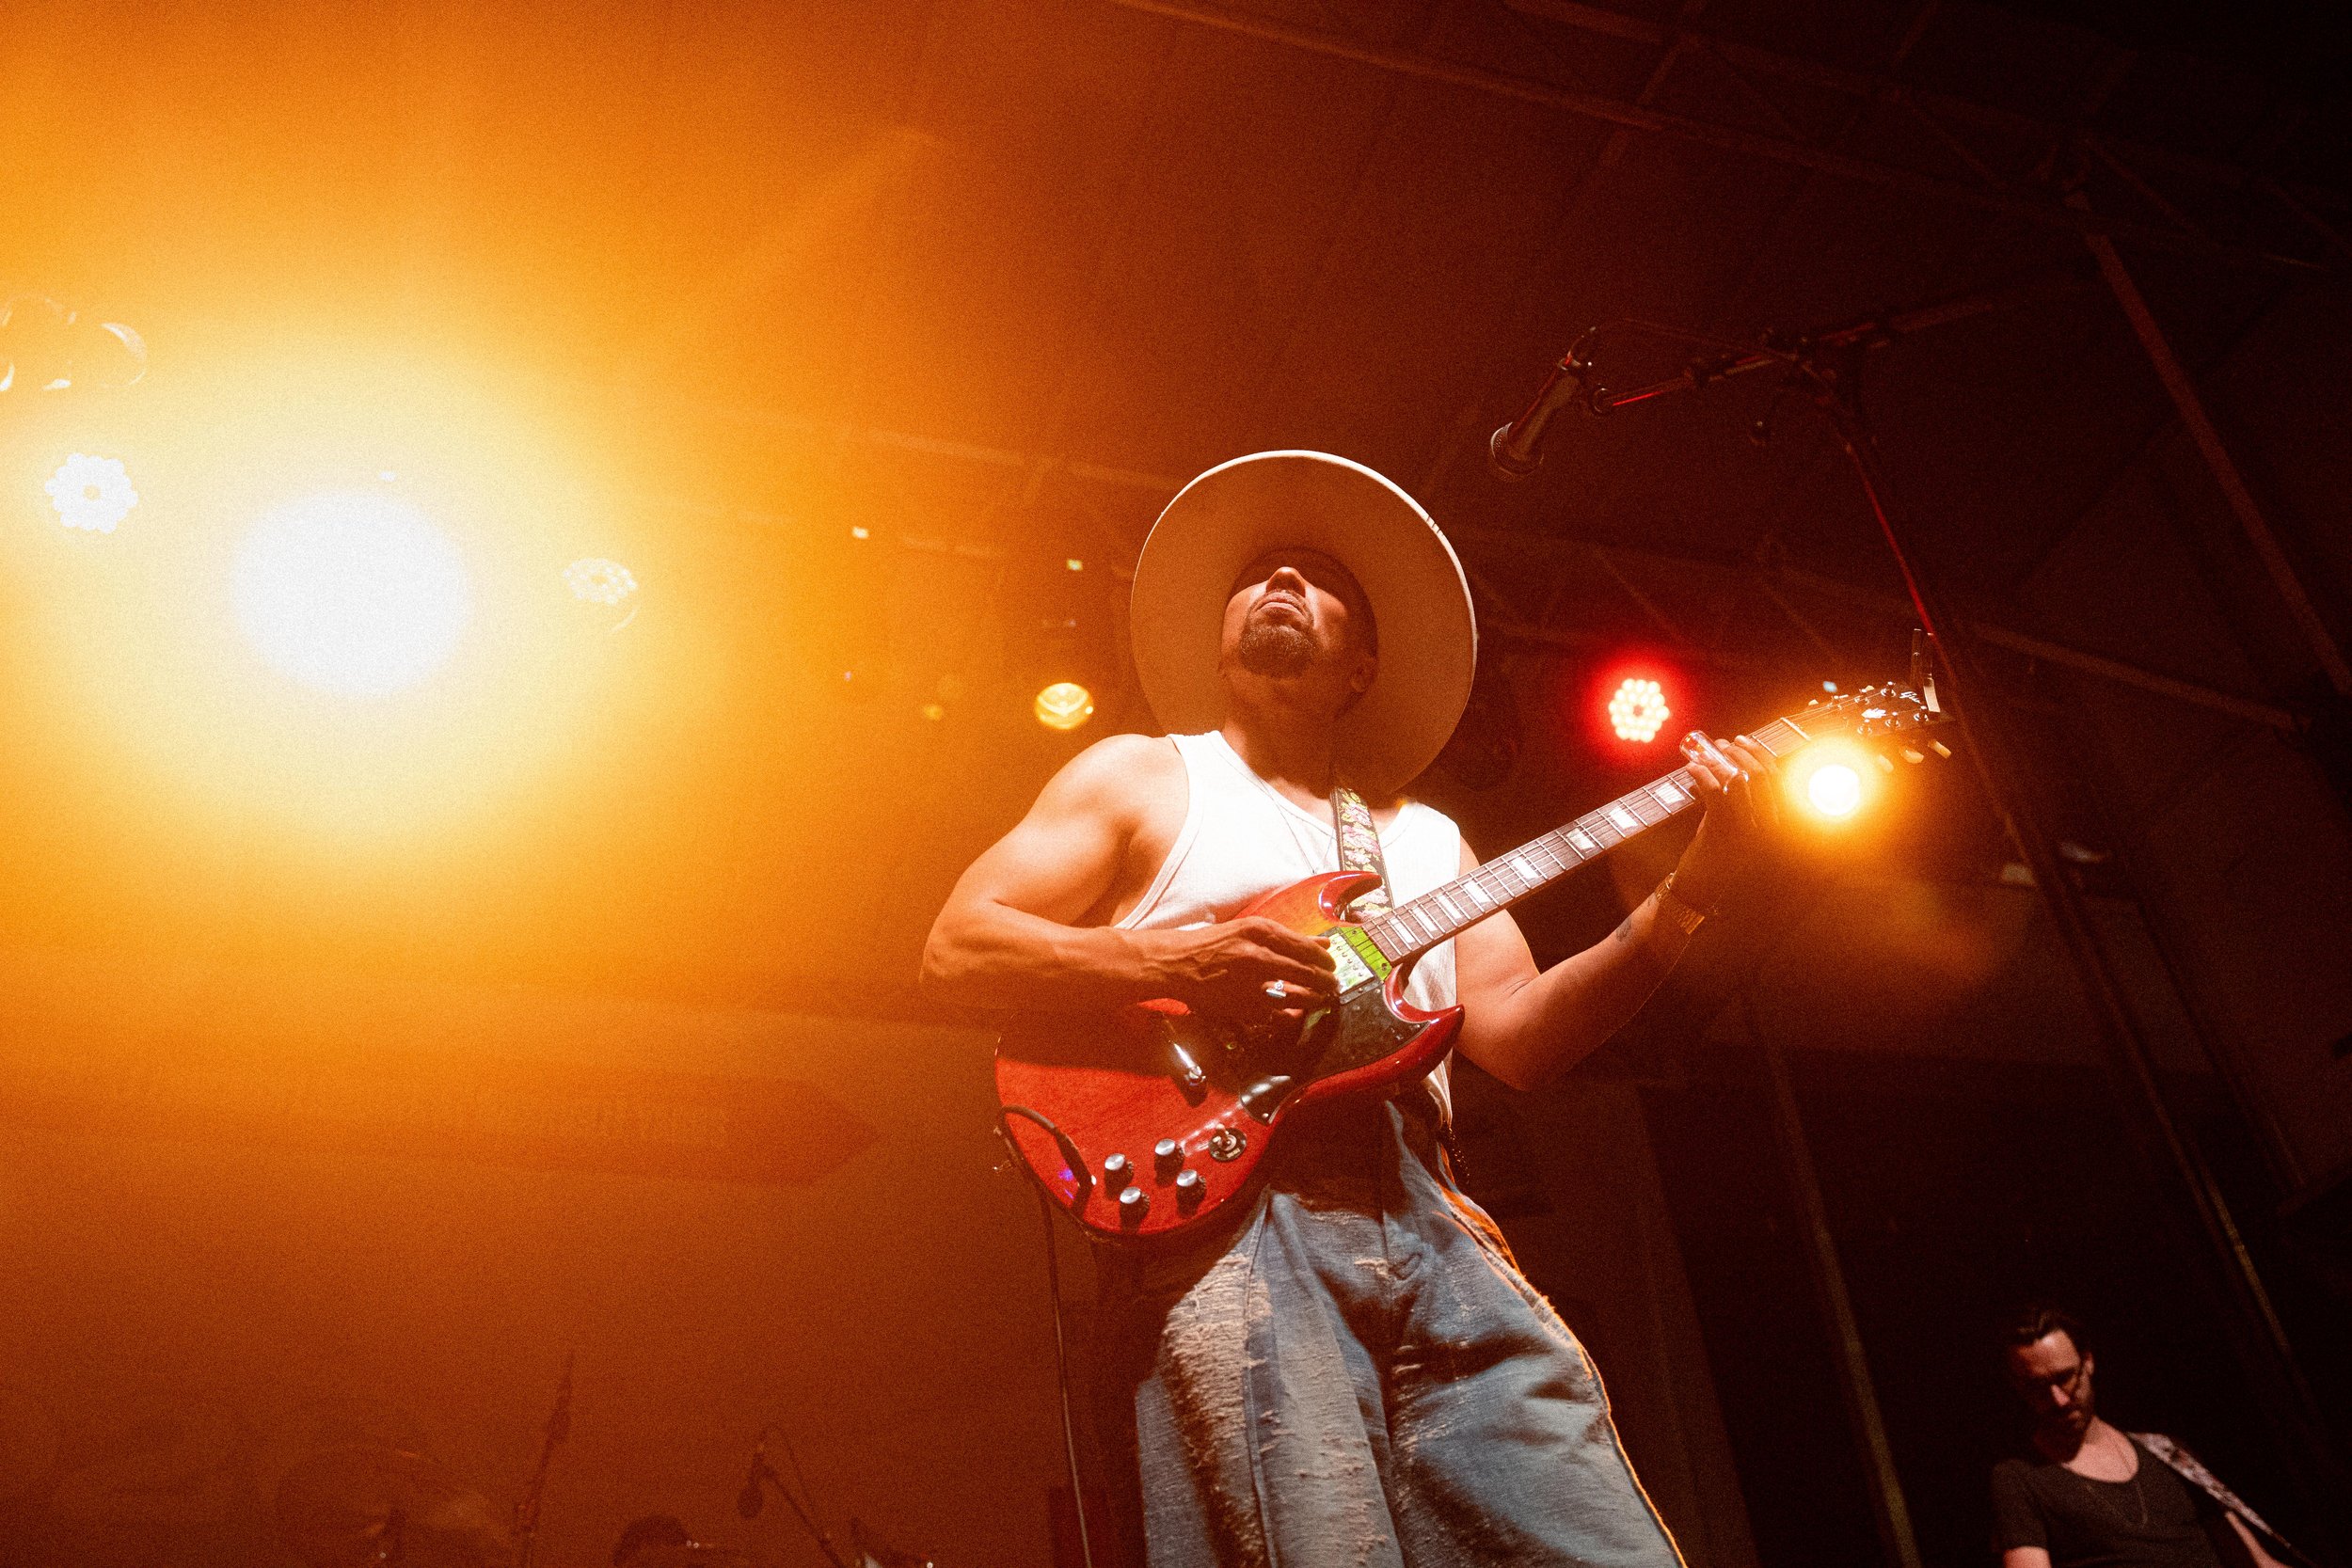
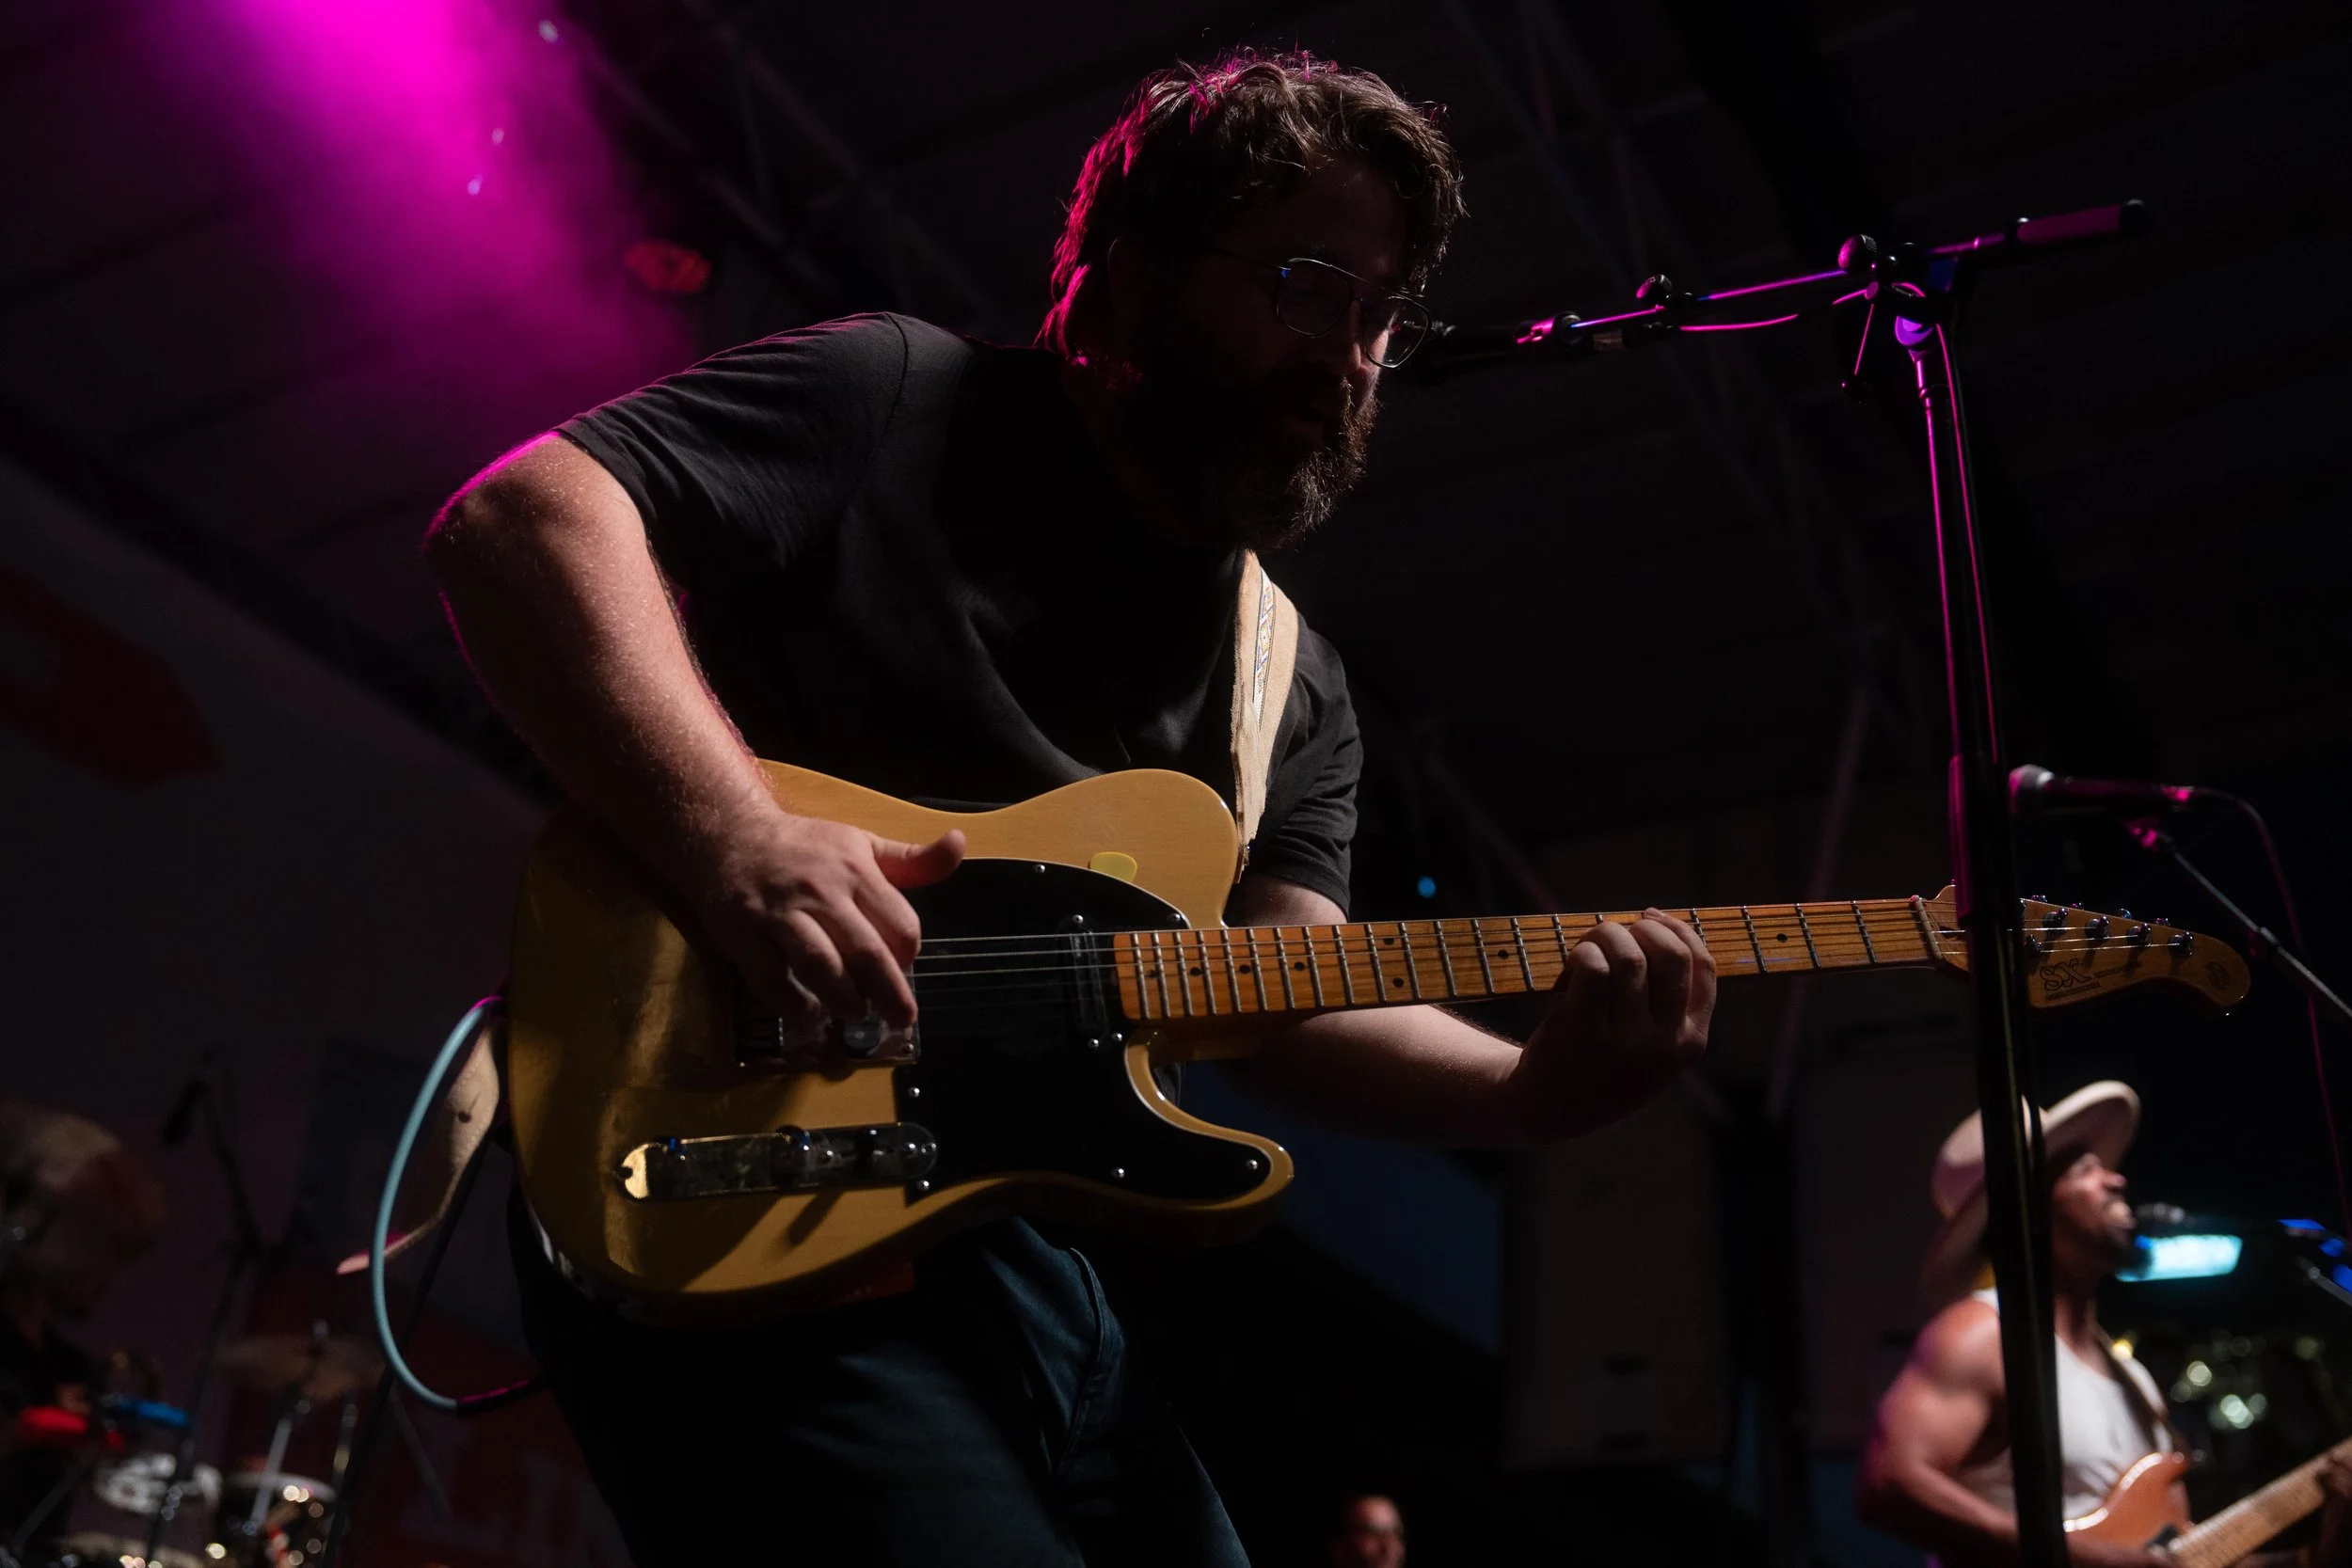
Just as I reached my new perch spot, Taylor, the guitarist shown in the following image, looked at me and struck a pose. It was on me to whip the camera up to my eye and take the shot. This resulted in a severely underexposed image of a moment that had come and gone.

There she is. The ugly frame. My shame. Something I never thought I’d share with anyone. Why share something so hideous that you would have never known if I just let it rot on my hard drive? I’m glad you asked.
Mom, I threw up.

Maybe confessing feels good. Maybe the misery in you will see the misery in me and you’ll feel a little bit better when things don’t go according to plan. Maybe I just wanted to use this meme.
Fuckups are often part of the creative process. I could pretend it never happened by sweeping it under the rug and acting like my shit don’t stink but it’s bullshit and anyone who overly curates how they’re perceived or gatekeeps their process is a bonafide asshat.
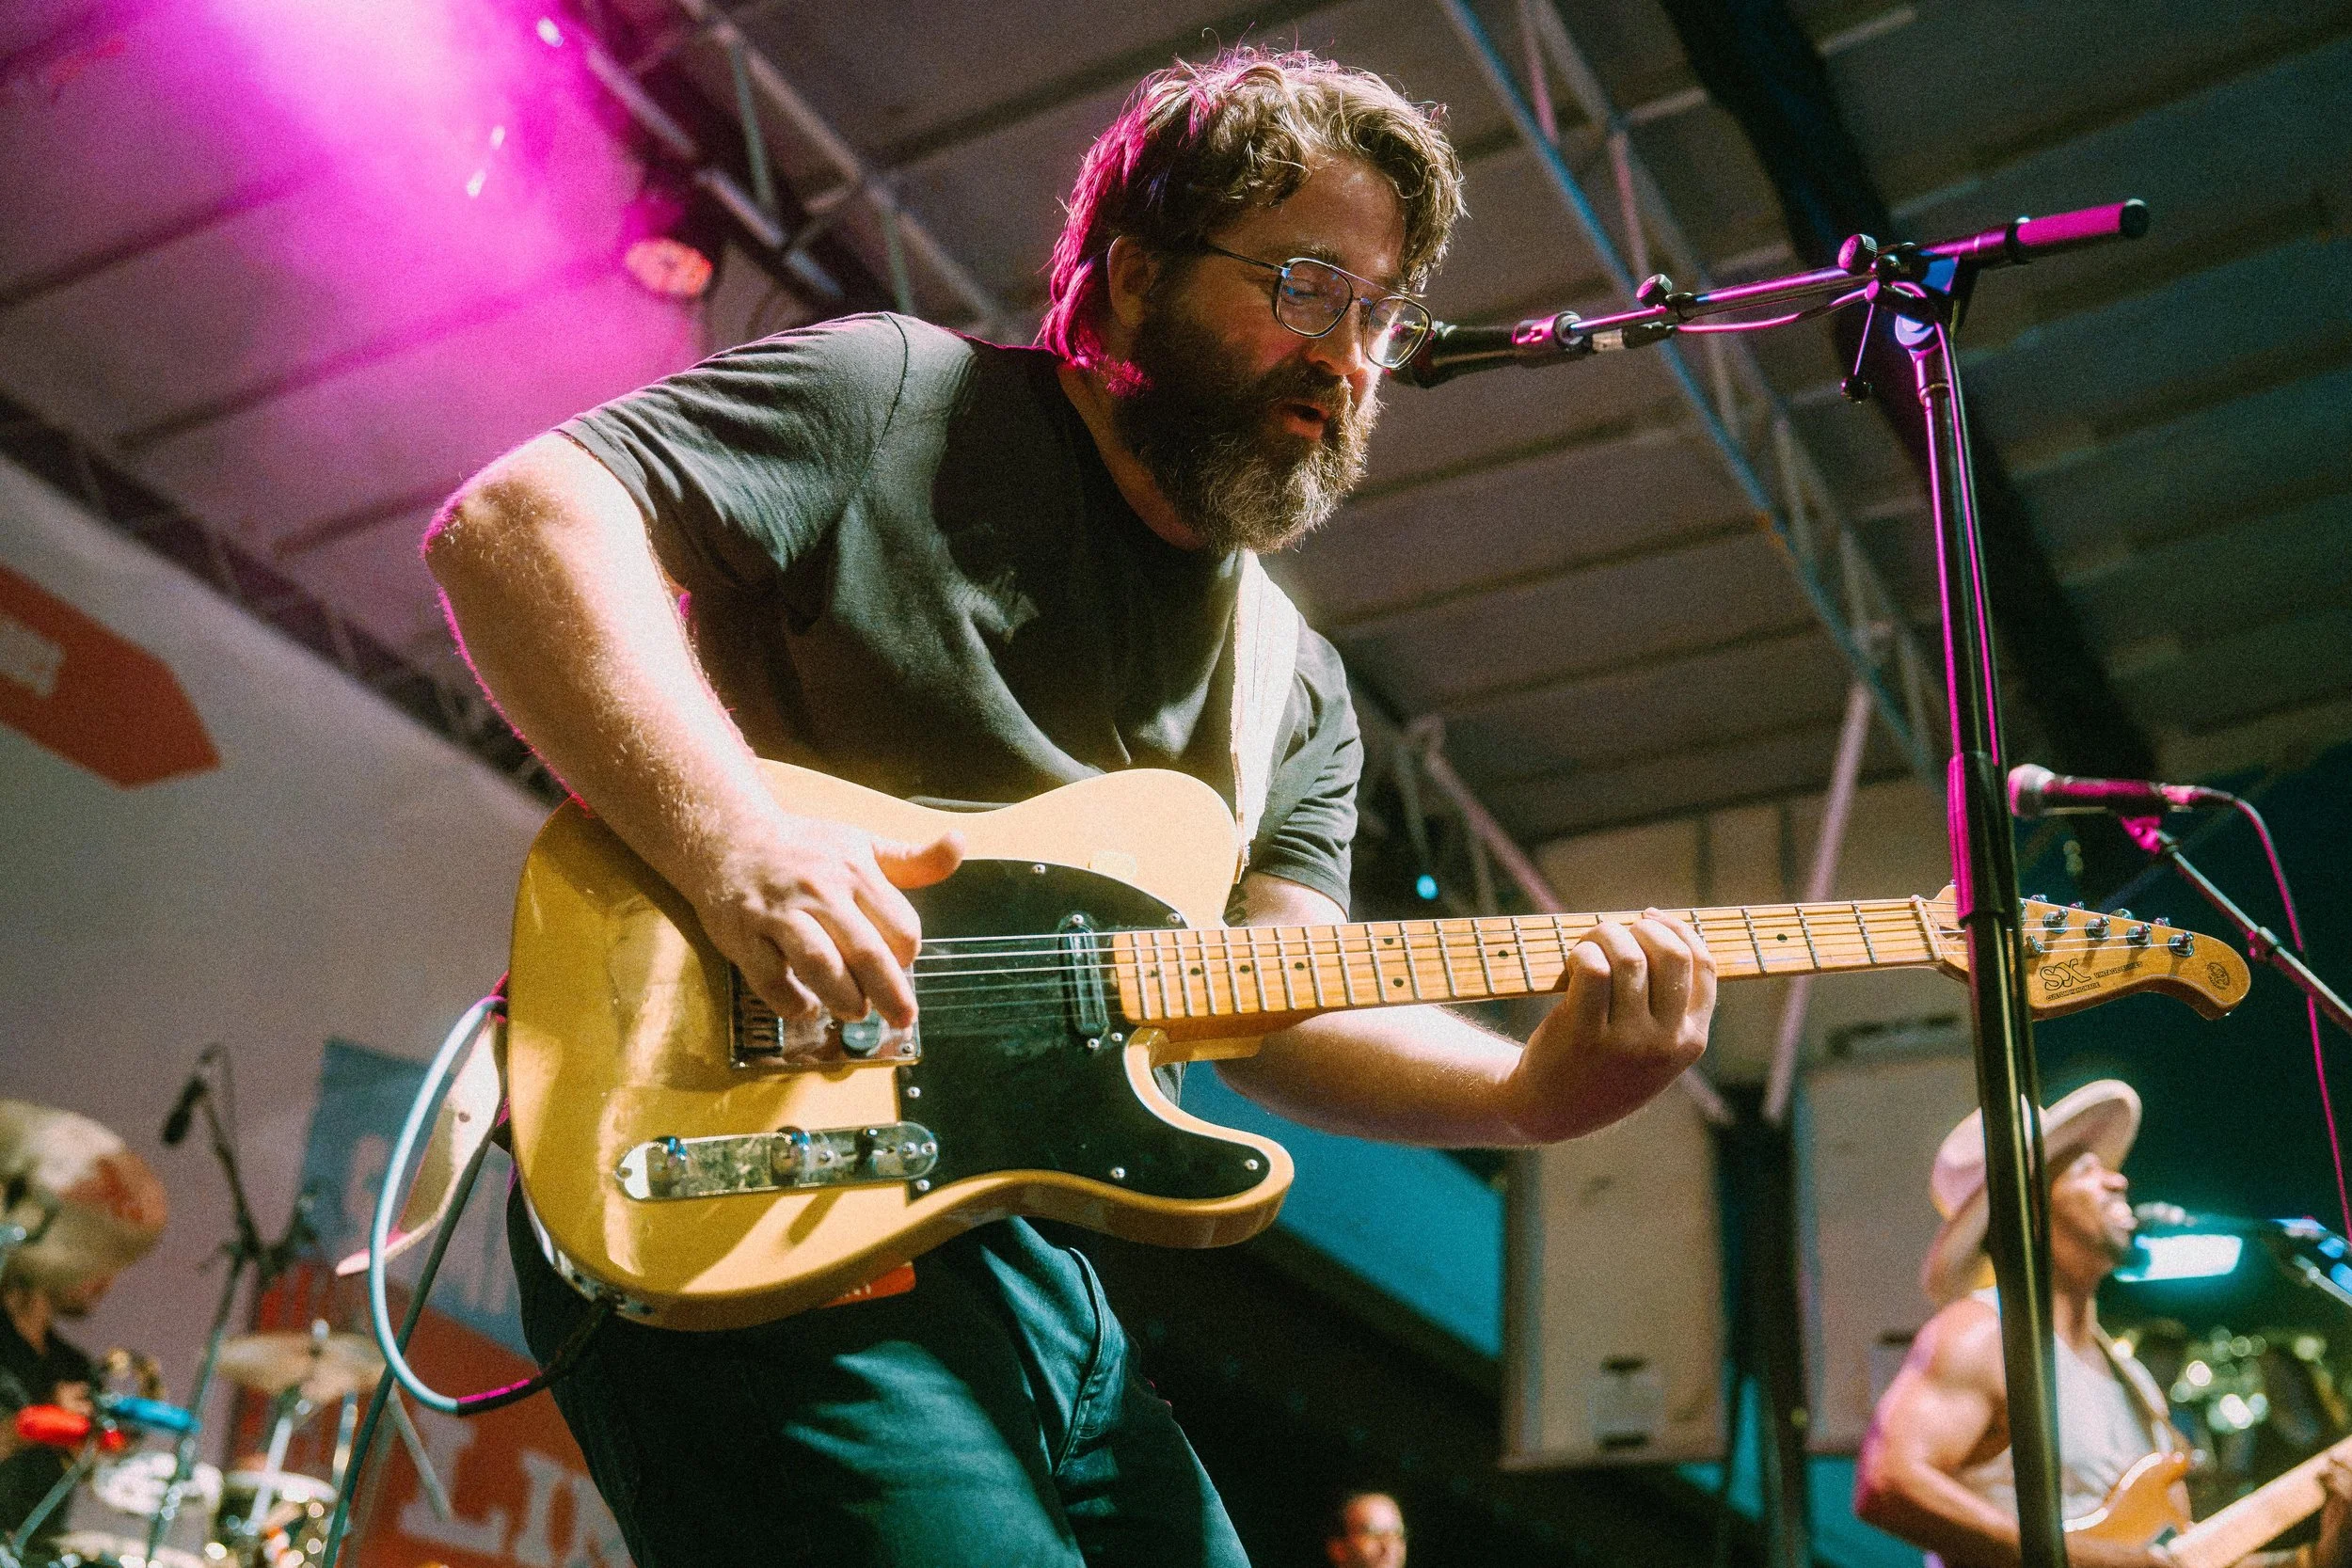
I botched the dismount but I’m generally happy with the landing.
Here’s a brief overview of how I saved the image:
Cranked Exposure
Reduced Highlights (these were way too hot after increasing the Exposure)
Boosted the Shadows
Brought up (brightened) the Black Point
Fiddled with color calibration in both the Color Mixer and Calibration panels
Side Tip: The highlights wheel in the Color Mixer is a different way to reduce highlights that is less aggressive than the Highlights slider. I fiddled with this a little bit.
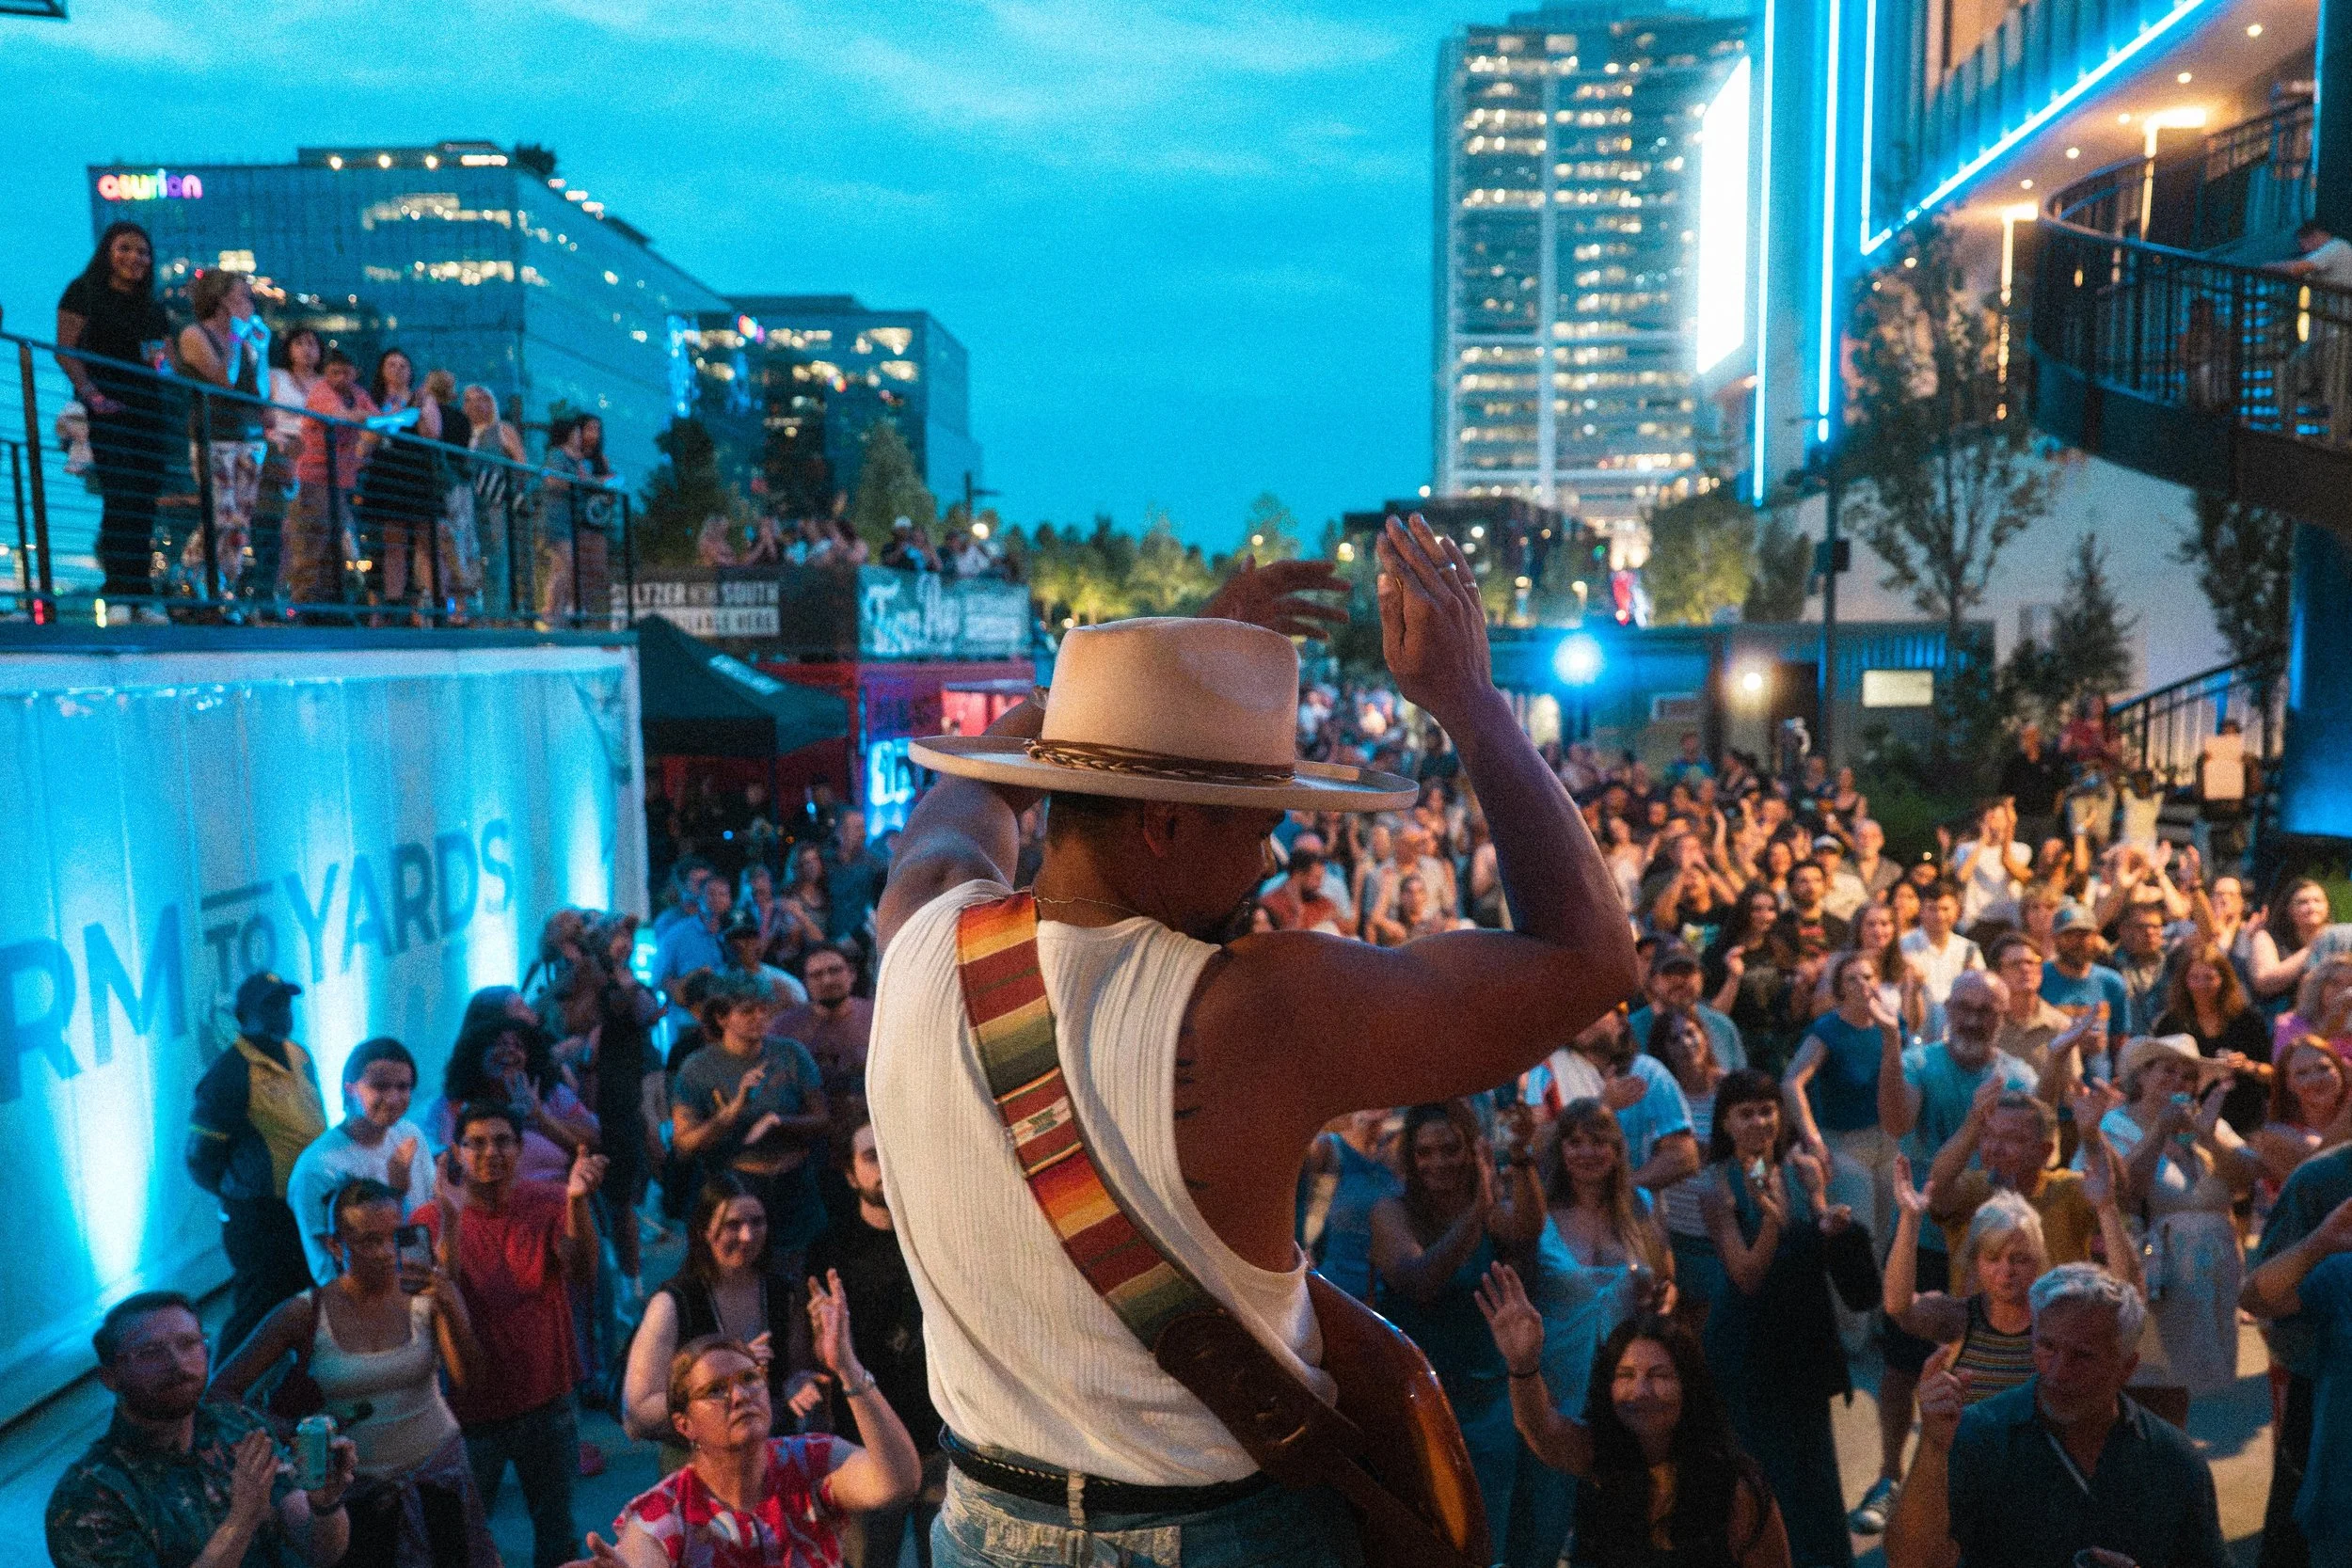
Used Masking Brush to reduce highlights on Devon (the handsome fellow with the big hat)
Added a slight darkening Vignette to draw more attention to the subject
Denoise (typically starts at 50 out of 100 and I reduced to 20 before it felt natural)
Added Grain
This is a big saving grace for me. I like my images to have some grit to them so when I miss exposure and compensate in post, the noise the process adds ends up feeling within my style. If my typical style was to have noiseless images and I was hellbent in never letting grainy images see the light of day, this image would have been DOA.
I’m not naive enough to call this a “happy accident.” If I had gotten the exposure right in the first place, it would have saved me some time in post. Though I’m grateful to be able to share the silver lining: just because I fucked up doesn’t mean I’m a fuck up. When I’m shooting, my creative energy is often spent finding new angles and different ways to tell a story. When I’m editing, my creative energy is often spent problem solving. It’s all part of the all-encompassing creative process.
I hope, in some way, this post was encouraging. Just because things don’t go as planned doesn’t mean we need to wave the white flag. Go hardcore parkour on its ass. Think of ways to jump and leap and scale the wall. You’re a creative and creatives are naturally curious thinkers. Stop the negative voice and let the creative in you take the reins for a bit so you can figure out the problem at hand.
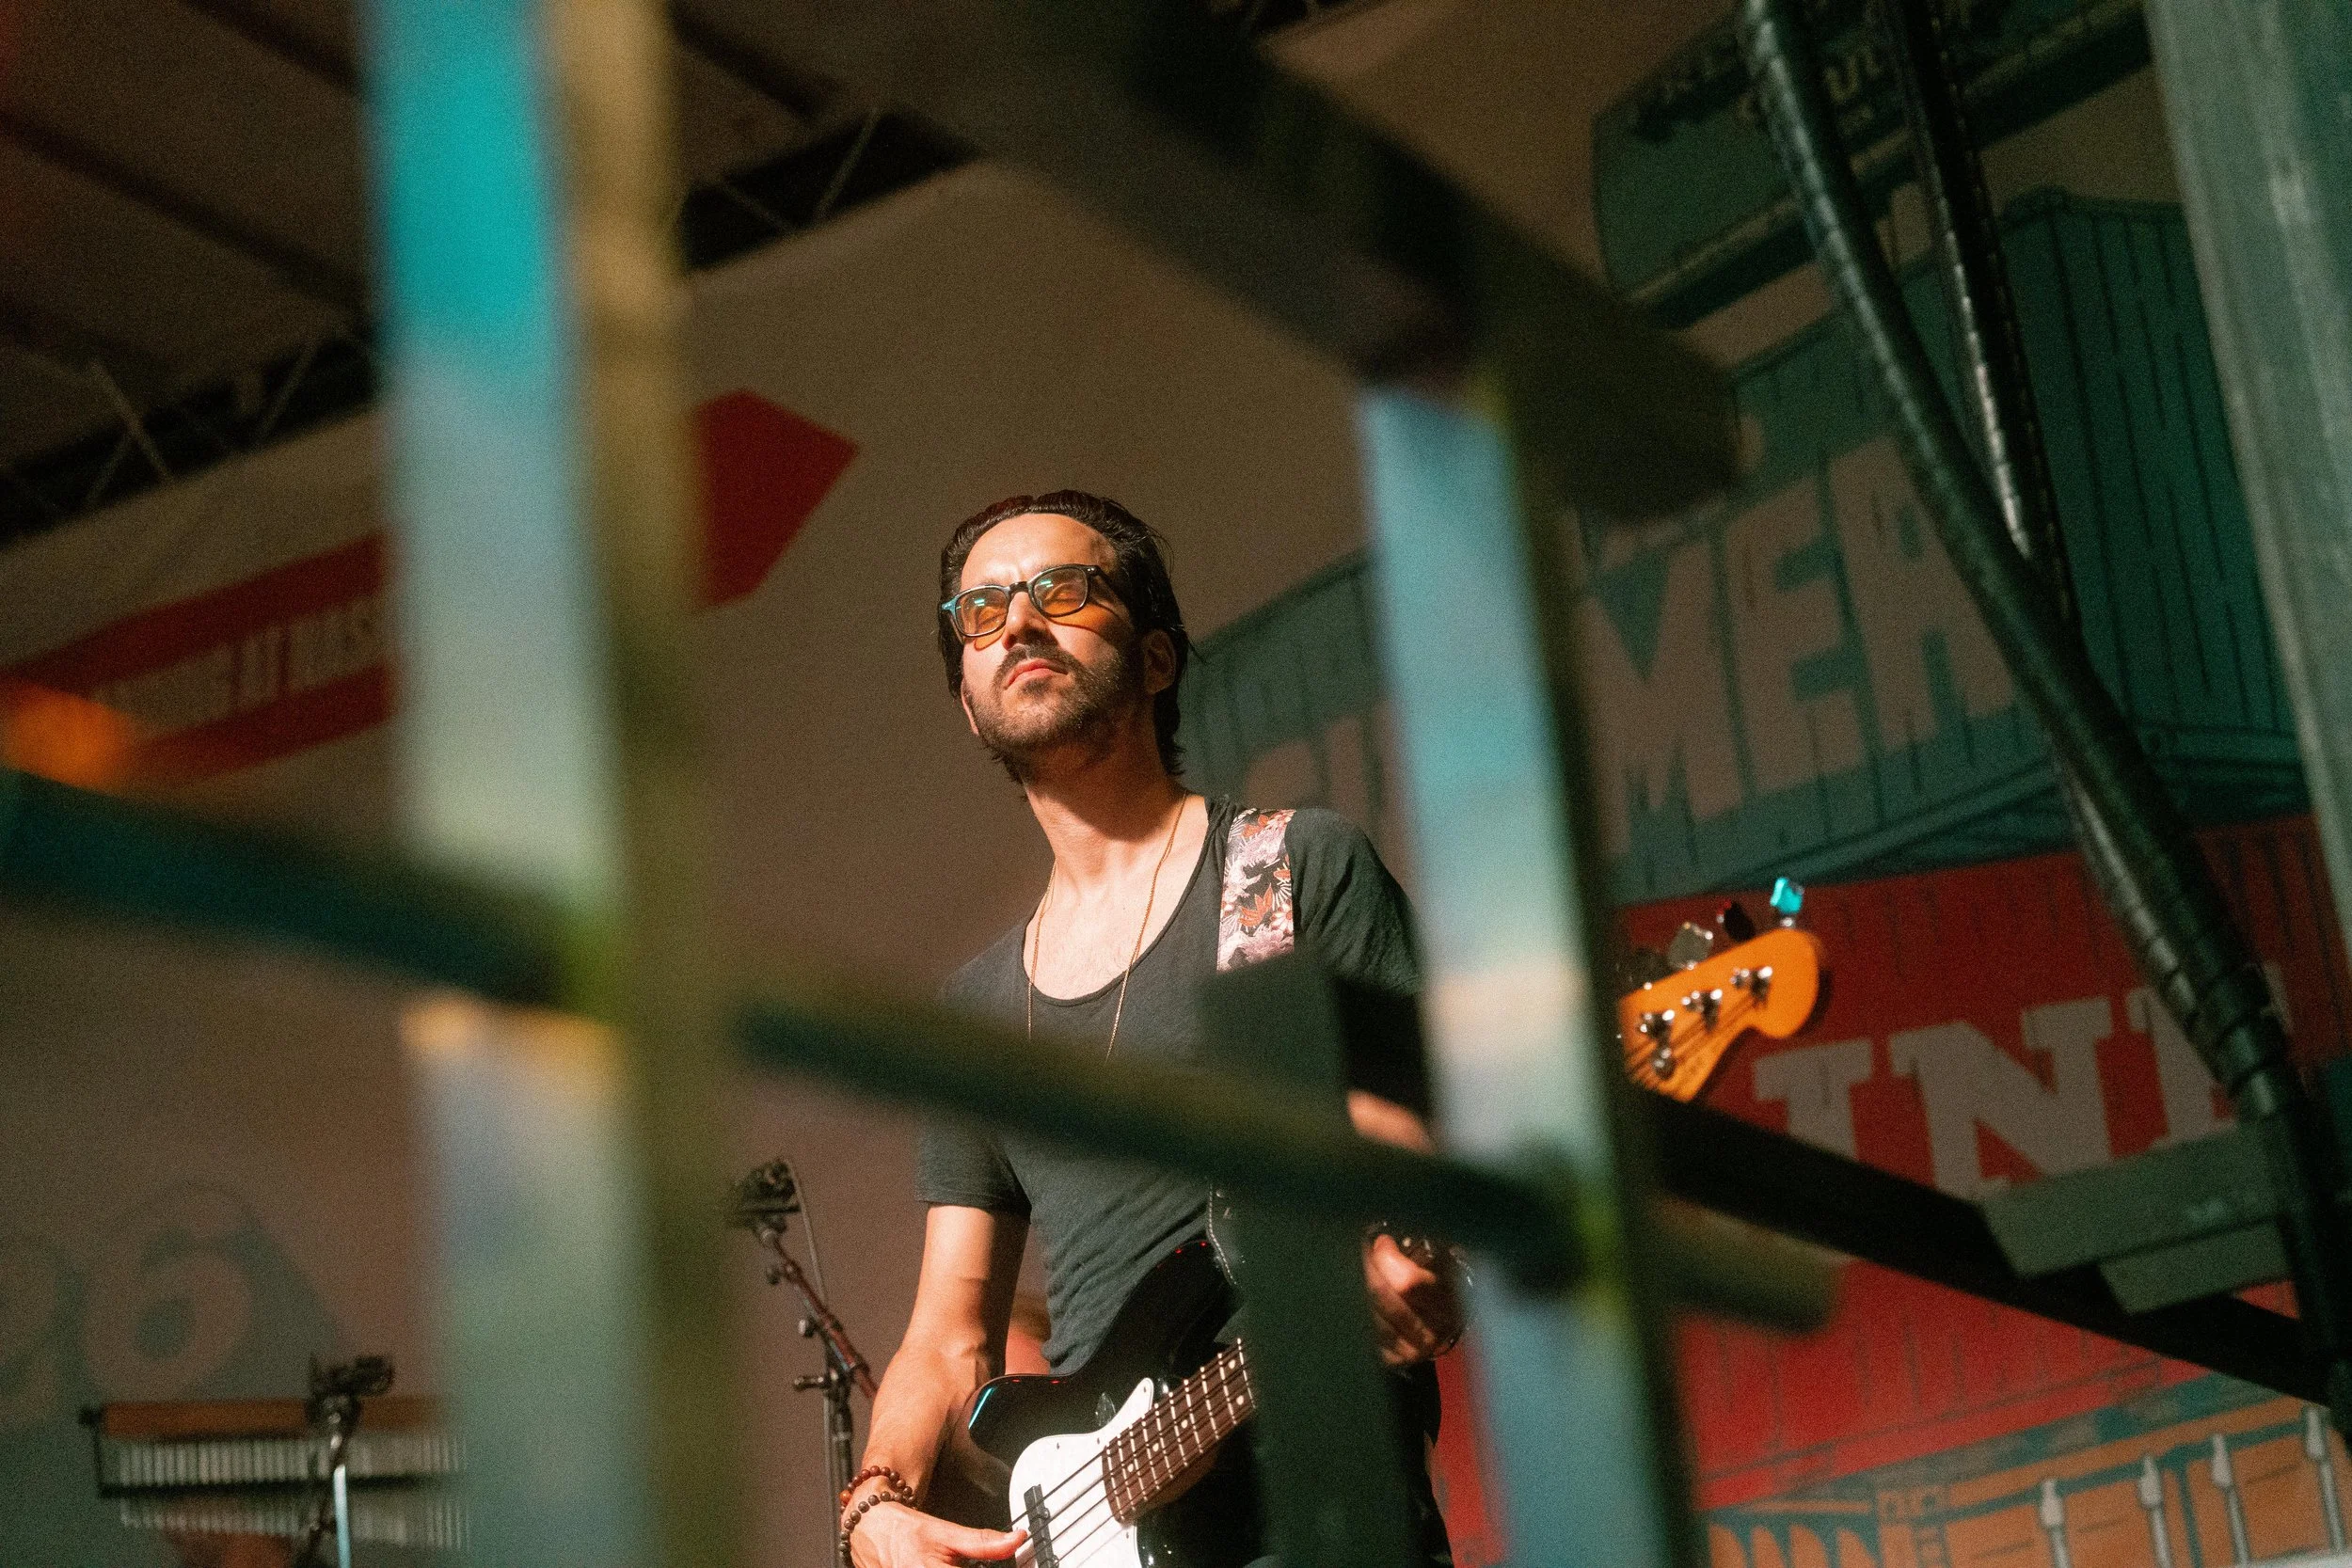
While I have you, I’ll share some of my favorite images from the evening.